If you have attended any one of my sessions on flipped learning this year, you will probably remember me talking about a chrome extension called Screencastify. This neat little chrome extension allows you to capture everything you are doing on your screen and can come in handy for when you want to record a video lesson for your students or have your students record a video lesson of their own. It is also 100% free and easy to use on any operating system since it is through the chrome browser.
In this post, I want to walk through the process of installing the chrome extension and then using the features it offers!
Note: You will have to download the chrome web browser if you don’t already have it installed. HERE is the link if you would like to download chrome.
Part 1 – Installing the Screencastify Chrome Extension
You will need to head over to the Chrome Web Store or simply follow this link to the Screencastify Extension.
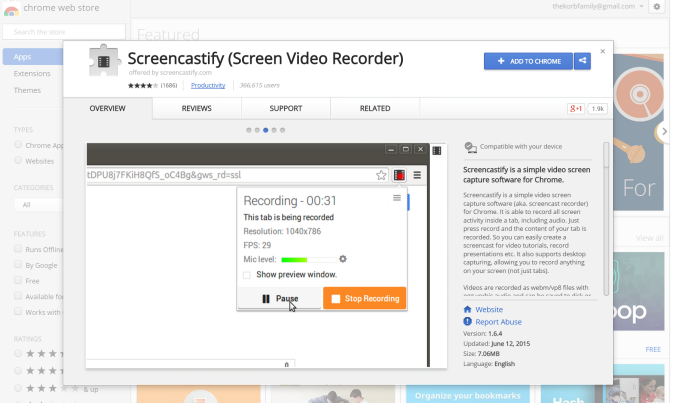
Click on the +ADD TO CHROME button and the application will pop-up with the following window asking if you would like to confirm the new extension.
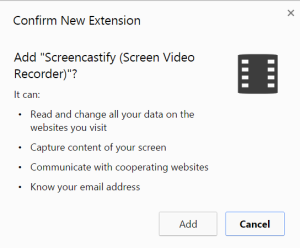
Press Add and it will install the extension into your browser.

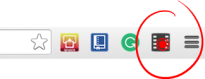
Once the black film strip has appeared in the top of your chrome browser, you have successfully installed Screencastify!
Part 2 – Using the Screencastify Chrome Extension
This is where there are a bunch of different paths you can take with multiple settings, so I will briefly talk about each option and then leave it up to you how you want to record.
When you are ready to record a screencast, it is relatively easy to get started. You will need to click on the newly installed black film strip icon that is in the top right-hand corner of your browser, which will open up this window:
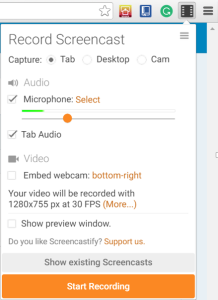
Here is a breakdown of the options to select:
The first section is labeled Capture and this option allows you to record three different ways. The first way and the second way are very similar but have one major difference. If you choose the Tab setting, the only thing that will be recorded is what is on that tab of the browser. However, if you choose Desktop, you will have the ability to record everything that is going on within your computer screen. This is the setting that I choose most often because I like to switch between various resources during my lesson. Lastly, the Cam option is exactly what it sounds like – the Web Cam on your computer. You would choose this setting if you would like to visually record something that is going on or just you yourself on screen.
Next, you will want to make sure that the Microphone button is checked and the correct microphone is selected if you happen to have a nicer recording device you are using.
If you would like to have the audio of the tab you are on playing during your screencast, then make sure to check the box labeled Tab Audio.
The next set of settings deals with video capturing and displaying. If you want to embed your webcam, which is when a video of yourself is displayed in one of the corners of your screencast during recording, then you would want to choose the location and check the box marked Embed Webcam.
The last setting won’t actually be seen by anyone but you. If you would like to see what your audience would see during your recording, then click on the Show Preview Window checkbox.
Congratulations, you are now ready to start recording!
Click on the Start Recording button and the next screen may or may not pop up depending if your chose desktop or not.
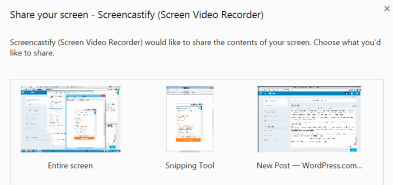
If it does, then just click on the Entire Screen option and press Share.
Now you should see that your Screencastify icon changed to this image:
This shows you that you are recording and anything that you are doing is being recorded.
When you are ready to stop, just simply click on the icon and select the button marked Stop Recording.
Screencastify will bring you to their website with your screencast.
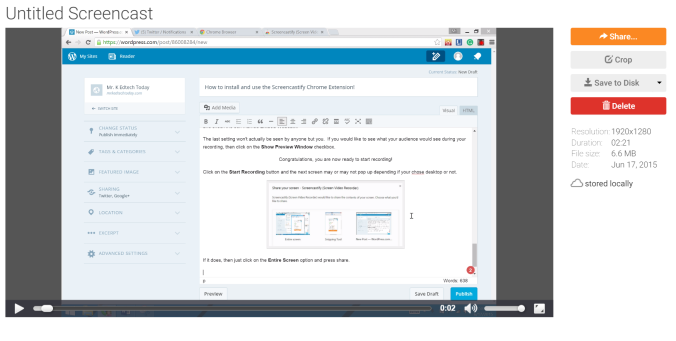
You now have the options to share your video with YouTube or Google Drive, Crop the video, save it to your harddrive, or simply delete.
That is a comprehensive look at the process of using and installing screencastify! Enjoy!
P.S. Here is a LINK to a screencast of screencastify that I did during my conference today.


